


May 3, 2025
A photo of what I have - so far - for waterways from Time Cast.

October 7, 2022
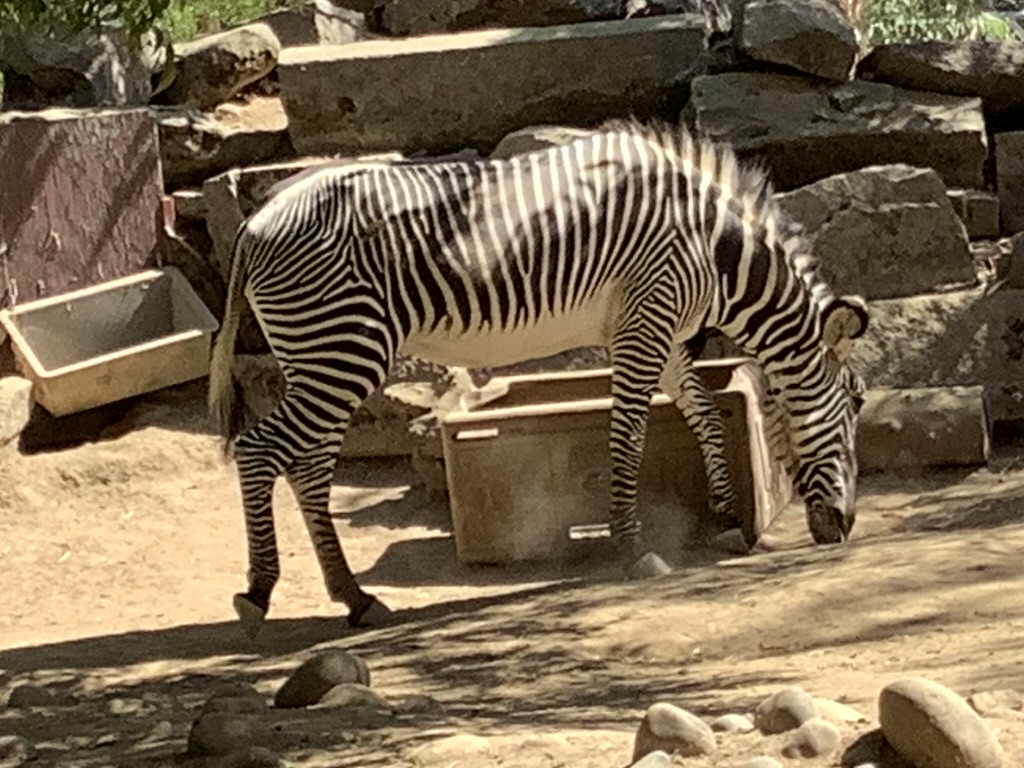
Just a single photo of something in my collection of stuff to work on, some rocks from some playsets - dinosaurs I think - which I bought mostly for the trees but figured I could use the rocks when making some kopjes for Africa. Nice thing about these pieces is that they are pretty hard plastic so will withstand some rough handling.


That makes 30 pieces progressing towards the 120 total of all the different flavors. I reserve the right to add new and different flavors in the future. For instance, I am planning to add at least 8 triple canopy rain forest pieces and 4 associated jungle pieces (being the edge of triple canopy jungle where the growth is thicker than in the interior of the rain forest.
June 2, 2020
Some progress on the jungle, if rather small progress but still important progress. Not shown below are the Woodland Scenics poly-fiber, clump foliage in three shades, and some JTT tree branch armatures (need more of those). Will also need some additional flat spray colors to go along with artist acrylics (which I already have a good supply of) for dry brushing.
Of more below regarding my new toy but I've cut a quantity of dowel into various lengths that will be used to assemble tree trunks.


May 8, 2020
A minor addendum to yesterday's post, a closer shot of the tree trunk and the elephant, and it's trunk, (meant for Indian Mutiny - a VERY long stalled project, poor pachyderm has been painted for many years without a textured base): The ellie, of course, was not intended for that event, Thailand I think, but he will serve my purposes. May also appear in Slightly Cracked Colonials games set in Africa (mostly) even if pack elephants are a bit anachronistic on that continent. Games need a refined element of silliness to achieve there fullest potential for fun. So say I!

May 7, 2020
A proof of concept under way towards creating some triple canopy jungle terrain. This photo is for the trunk of one of the main canopy trees:

A future effort will try to get more of a spread out trunk on the ground as well as more developed buttress roots but so far so good. That is a 15 mm elephant with mahout and baggage for size comparison. I do intend to paint the trunk. I will probably start by experimenting with dry brushing but may go for a wash or might even use spray paint and then dry brush and wash effects.
My current plan is to create a certain number of canopy trees with such trunks, some much thinner overstory trunks that thrust well above the main canopy, some understory trunks that might be thinner, a shrub layer of much shorter greenery, and finally the ground layer where I hope to make some credible models of ferns. And I plan to add plenty of lianas vines and similar - heck, I might even try to include some epiphytes and orchids if I can source good material for doing so.
One trick I plan to use - and why you don't see any branches sticking out from the trunk above - is to use the hole at the tope to insert a post that will hold up the actual canopy with a goal to construct it in such a way as to provide a lacey branch structure as well as a dense canopy. Having canopy separate from trunk will allow each to be colored without impacting the other.
Besides the triple canopy rain forest, I also plan to create some thicker 'jungle' pieces to represent the denser outer edges of the rain forest, especially as might be encountered along a river. And I am definitely going for a tropical rain forest, not temperate.
Lots more work to do.
July 31, 2017
So, yesterday, in the 100 degree fahrenheit heat, I worked on some new terrain pieces. I did a bit of jig sawing, a bit more sanding, some gluing, and spraying of paint to get six new longer 'profile' hills made from a varying number of shaped pieces of 1/2" plywood. I also sawed, sanded, and painted a new 'pass' hill - one very big hill with two smaller elevations to create a pass. I now have two passes.
Still need to do a lot to finish these pieces but progress is always good. Eventually these pieces will be ready for gaming. They were inspired by a posting on the Major General's scenery page, hills made with crumpled brown construction paper. I just wanted greater durability since the inspiring hills were pretty much one time use.
March 26, 2017
Yeah, it has been a while since I posted to this page - longer than I'd realized. However, yesterday I made more progress on scenery.
And, by the way, there has been a LOT of progress on the scenery front, just not recorded here. Yet.
Before getting to the yesterday project, most of the progress has been on the flavor pieces, different colored grasses or other textures so that my base terrain cloth and hills can represent different environments. Yesterday, at a closing craft store's 80% off sale, I scored some items that will really help in developing some more flavor pieces - large sheets of suitably short grass, six of them, that I will change into other, more natural colors than the golf course green they are now (using floral sprays that aren't quite as 'brutal' as regular spray paint, perhaps), a few pieces of longer grass that I'll probably chop up into much smaller pieces to use to make jungle terrain - and use the same painting process to achieve color variations.
And speaking of jungle terrain, I bought six bags of six 'balls' each of green balls that have stuff glued to them, greeneries, and then wrapped in some green string. I will use these along with some large and off white colored preserved 'twigs', some pretty thick, to create trunks, planting them in groups of three and being careful to vary the heights a bit. Then I will use another item I got at the sale to 'drape' those balls to give them a more uneven tree shape and then add appropriate 'leaf' texture on top of that to create some at least six jungle pieces - maybe adding some of that long grass to the bases along with other elements. Probably also vary the colors of the trunks - and try adding some lianas or other vines and I might even get brave enough to try some 'buttressing' on the larger trunks.
The main scenery event yesterday didn't involve the purchases at all. I've been accumulating Noch Scene Master fir trees that come 9 to a box until I finally had 8 boxes, or 72 trees. A few weeks back I acquired some wood bases from a craft store, 24 of them so I can 'plant' the trees three to a base. Well, I sanded one side of those bases, creating a beveled edge so they'll blend better on the table, not such sharp, straight angled edges. Then I painted the other side primer red brown color. After that dried, I started to process of gluing the trees to the bases. And found the way Noch hot glues the bases for display in the retail boxes added a bit of work, used needle nose pliers to pull off the often bright blue glue (color absorbed from the box) so it wouldn't ever show through the scenery. Then I glued the trees to the bases. That was a chore. The trees aren't dead level, close enough for general but a pain to glue. Only got half of the trees glued to half of the bases rather than all of them I'd hoped to. But at least half or done, the other I hope to get done today.
Then it is a matter of sanding the bases, spread down a thick coat of wood or white glue and then spread clean playground sand onto the base. Let it dry, shake of the excess. And then the first coat of paint is a thick layer of chocolate brown. Then comes the other seven layers of color to blend into my terrain. And a final heavy coating of a matte sealer to help better preserve the trees.
Having another 72 evergreen trees, when finished, will be a nice addition to my scenery. And I'll add at least 36 more trees of a different tree type to get some variety. I won't be replacing my Woodland Scenics evergreens but they'll be relegated a lower status. They just don't have the visual appeal I want and, even worse, they are not table top durable - break way too easily. But they are built and add variety so I'll keep using them.
Oh, those photos below - all of those hills have long since been finished to blend in with my terrain. There are more to add that I plan to keep more in the brown class, except the bottom edges to match to the terrain cloth. Those will be for my old west set up. And I will be building some mesas to use with my old west games.
With all that I have in process or have most, if not all, of the material to create what I'm planning on, I'm getting close to being pretty much done with terrain building. Unless I think of something else I need for some particular scenario.
One more note, my table is no long 5' x 12' but 4' x 12' with two planned wings to reach to 16' total length, one wing to be on a folding hinge and the other wing to be on an adjustable height stand to allow creating, say, a seaport at a lower level than the base table height.
Some of what is discussed above can be found on the main posting thread on this blog. Sorry, no photos yet of the new tree bases.
October 20, 2014
So, below are some "before" and "after" photographs of my terrain in place on my gaming table. The surface is 5' x 12' but the canvas is much longer so you see it drapes towards the floor at this end of the table. What you see spread out before you are many of the hills I've made but only with their glued on sand coat. There are also many of the stands of trees but again with only the glued on sand coat. Of course, some of the photos show the finished hills that were completed a couple of years ago. There are a bunch of photos that are here just for reference from different angles. Those rivers and streams are from Rick's Scenics, my one concession to a commercial product - but still in need of being matched to my terrain.


Above includes my first attempts at home made roads. Went okay, will be better when I go "into production."


Before we go on, did you sort out how the round bases are for deciduous trees and the oblong-ish bases are for conifers? And did you note that all of the bases have three trees except for a smattering of single large deciduous trees?

We are about to move into shots of the finished terrain but we'll start with some of the "flavor" pieces. Below are eight tall green grass bases. At some point I will make a different shade of green and some brown to tan or yellowish bases similar to these.

These are just some plastic 'bushes' I decided I'd go ahead and use.

Here is an entire wood, 12 three tree stands and 4 one tree stands. Once all the tree armatures are fully provided with "foliage" there will be a dark green set, a medium green set, and a light green set.

One of several options for a conifer forest - thirty total bases. I plan to add thirty more smaller washer sized bases of conifers, singles, to be able to add more trees to the smaller and higher bits of terrain or hills. By the way, that darker color on the bases is intentional, still blends great with the ground cloth (better than the lighting here shows) but also differentiates the wooded bases better.

Some short grass bases. I will make two more sets, one with a lighter green and one with yellowish grass.

The road and a bunch of the hills behind.

And an overview shot below.

And a reference shot to help me decide what hills I may want to dig out for a particular scenario.

And another from an adjusted angle.


Study the big hill in the photo above, carefully. You should see six 'steps' to it.

Here is the four step version.

And here is the two step version.

And back to four.


And again at six.

Above is one very big hill!

Same at four steps now.

And at two steps.

Back to four.

And at six again. Study the variation of how the layers sit on the base. These hills allow for a lot of variety in how they are set up.

And this last one shows the three piece "pass" hill, four steps on either side - though only three steps higher than the pass itself.
To see these same hills with some of my 15 mm figures to give you a sense of scale, visit the French and Indian War page.
September 16, 2014
Some photos:

90 conifers on there 30 bases and two orchards being reworked below.

120 deciduous trees. Both groups will get a multi-color treatment to match the terrain cloth shown below - though maybe with "brown" centers, not fully decided yet.

Some hills and hill sets, most with sand on, one set with just a sprayed on base coat.

And with a sample finished piece to show the end goal.

That mess is on top of the 5' x 12' gaming table - and a couple more hills there on the left.

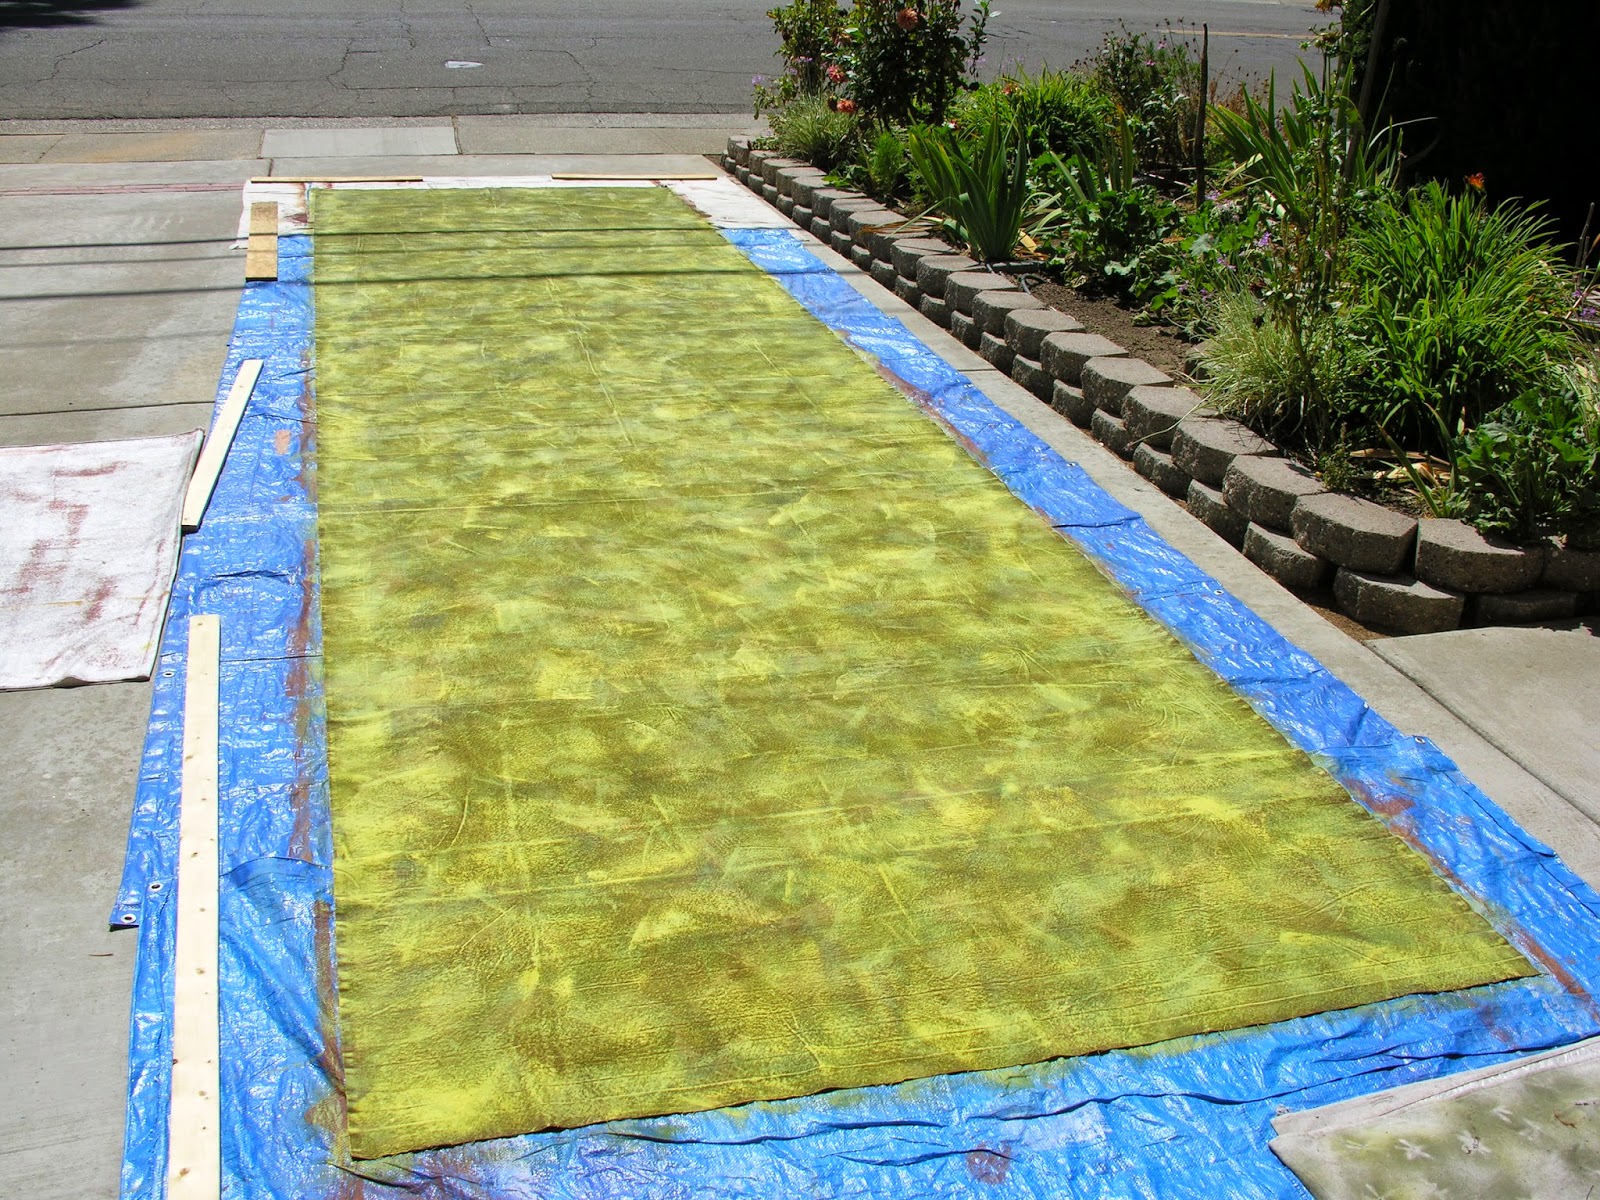
The 6' wide by 23' 4" great canvas awaiting paint.

And a reverse view.

Beginning the painting, the darkest brown, a nice choclate color.

The line shows shrinkage.

When dry the canvas shrunk to only 22' and 6" long and only 71" wide.


A reverse shot - the temperate got to 104 degrees Fahrenheit before I finished this days effort.

Color number two, a tanner brown but brown.

And a reverse shot.

Color number three going on.

And the reverse. Kept this up to get lighting variation perspectives, really.

One of the finished pieces while in progress.

Third color a few hours later - and a lot cooler, though still plenty warm.

Fourth color.

Reverse.

And the whole 'brown' pallet.

Next day and a shot of color number four again.

And the reverse again. Love that early morning shade!

The darkest green part way done to show the contrast.

Reverse.

And just a closer shot. Above the tray is a piece of newsprint I used to daub the brush so as to avoid slopping it on - a sort of dry brush effect.

The full green...

...with its reverse.

And green number two (I think).

Or is this it?

Must be since this is the reverse shot.

Green number three part way done.

And its reverse angle.

Green three done.

Well, yes, another reverse.

And green number four in progress.

Guess what?

And finished.
And reversed.

Some hills in place, the nearest one was a pirate game piece and the far ones are purpose made to match this terrain canvas - although they were done a couple of years ago. Long term planning!

Yup, another reverse angle. Lots more of those hills in progress, some in sets, some stand alone.

A close up of the long hill or ridge.

A different angle of same for lighting variation.

Closer of the hills.

Ditto reverse.

Study above. Do you see the battery in place?

Maybe this will help you find it - it was knocking on 90 degrees on this second day when I finished.

Another angle - long shadows.

And again.

From the rear to loose those shadows. I think I've found my figure basing texturing formula - dark brown, T-49 blended turf (Woodland Scenics), and a dry brush with the last green (almost yellow).

Focus on the green pallet.

A shot of the full eight color pallete.

And the cloth in its solo glory while it finishes drying before rolling it up and putting it away.
June 25, 2013
That leads to the page that inspires a terrain project in the offing. But rather than using the cardboard and butcher paper approach, I plan to use wood for the profiles and likely insulation foam (maybe?) for the roughing out texture. Also, I plan to build these mountains in a modular way so that they can be set up in a variety of arrangements. And I plan to incorporate a pass or two.
Another project I'm still weighing how to do is making some mesas as seen in Arizona. This will primarily be for my Apache games with the Wild West figures but might find other uses.
Original Post in 2012
I want my tables to look GOOD - besides, I've never been on a flat battlefield yet. And I've been on a lot of them. Fortunately, not in battle despite having once worn a uniform to serve. And lately I've settled on my basic "formula" for terrain. Okay, granted, some periods may look a little out of place on the terrain but I decided to have a core set of terrain to use for all periods with "flavor" pieces. Otherwise the wife was going to send me packing for taking up too much of the homestead for gaming!
That was a lot of effort, but a great looking cloth!
ReplyDeleteJim
This might be a double post---sorry if so.
ReplyDeleteGreat looking mat! Your layering of the paint colors worked very well.
Some questions, as I'm considering buying some canvas drop cloths for my own attempt at this---how are you storing the mat, just rolling it up? Are you having any issues with the paint---sticking, cracking, etc.?
Nathaniel, thanks for the compliment. I've found no problem with storing the mat rolled up - just make sure it is good and dry before you roll it up. I have two other large mats painted a couple of years ago - for my Pirates in the Carobbean Sea game - and they are holding up just fine. No cracking or problems. I use plain and cheapest possible interior house latex paint. Just be sure and plan for the shrinkage that will occur when you paint the canvas - much more pronounced in the length than the width (one to two inches lost in width but eighteen inches or more on the length) so plan for extra. Never hurts to have too much but can be a challenge if you are planning for a certain length and come up short.
DeleteThanks for the tips, Curmudgeon. Great work on the mat!
ReplyDelete